Monday, June 25, 2012

How to Make a Necklace You Probably Won't Wear


Ignoring the egregious time lapse, I'm going to jump right into this fascinating how-to that is really unnecessary if you look at the image below.
I don't have a suitable head to display this on
so the lava lamp & Walter have to do.


I bought a Dremel a few months ago, but I was smack-dab in the middle of the study of Human Anatomy & Physiology, I barely got a chance to play with it. I've since obtained my 2 year degree (which I've been working towards off and on for 9 years...) and got a chance to learn a little about how to use the new drill.


I was walking down the toy aisle at the dollar store and found a cheap skate/finger board and thought, "That could make an interesting necklace that people probably won't wear." While I don't remember if those were my exact thoughts, it fits


What you need:
Fingerboard - $1.00 at the dollar store
Chain- $1.99 at the friendly neighborhood craft store
Superglue- Just for security
Drill- I used my Dremel 4000 with the drill bit it came with


So, just drill a small hole at each end of the fingerboard. I just eyeballed where I wanted them and lucked out that the chain connector link was just the right distance so it would fit snugly. 


The chain is made of inexpensive plastic, so it turned whitish where it was bent to fit through the hole I drilled. It's also prone to disconnect from its clasp, so a touch of superglue isn't a bad idea. 
The wheels on the fingerboard are interchangeable, so they can come unscrewed. You can either keep up with its tiny screwdriver or add some glue there as well.
And there you have it, a funny necklace you probably won't want to wear. Enjoy!


Monday, April 16, 2012

Radio Silence


Please excuse the writer as I am at the cusp of passing/failing the last class I need to finish my two-year degree. 
I am by no means finished with the fodder, but presently, my spare time must primarily include being engulfed in the workings of human anatomy and physiology.

Meanwhile, look at this sweet kitten.


And check out this blog. I find it regularly entertaining.
Epbot button final


Saturday, March 17, 2012

Random Roundup

*updated so that all links should now open in a new window*

Another low-key Saturday night at home. I should be unpacking, cleaning, studying, but this just seems like a better idea. Just so this blog doesn't turn into a how-to site of stuff I've ripped off, I found some random funnies yesterday that I thought I would compile for your viewing pleasure. It's a little heavy on the Muppets, but the movie comes out on DVD Tuesday, so this is just to better set the mood. ;)

First off, I'm not really familiar with the show Game of Thrones, but a friend of mine really enjoys it. Illustrator Yehudi Mercado has created a collection of Game of Thrones of Muppets. These images are enough to at least get me interested in the show.


He has posters for sale of individual characters. I like this one.

Prince Joffrizzo: Game of Thrones of Muppets
I don't know anything about the character,
but how cool is this Prince Joffrizzo?

I think it's the 30th anniversary of Weird Al's first album release. (Although Wikipedia seemed to give me conflicting information...) Possibly related to this debatable milestone, Mr. Yankovic hosted the opening of an art show at Gallery 1988 in Los Angeles. Joined with Funny or Die (-this link takes you to their video with Al seeing auditions for a Cabaret review in his honor), Is This Thing On 2: The Weird Year is full of art inspired by all sorts of funny people. If you happen to be in the vicinity, the exhibit will be up through the end of March. But if you are stuck elsewhere like myself, you can check out what they have online. If you've got the cash, you can buy one of your own. These are a few of my favorites.
Phantom City Creative
"Like a Surgeon"
Jason Liwag
"Dooneese"
  
Nick Comparone
"Nigel Trufnel"
Steven Thomas
"Party On! Productions Presents"

Chris B. Murray
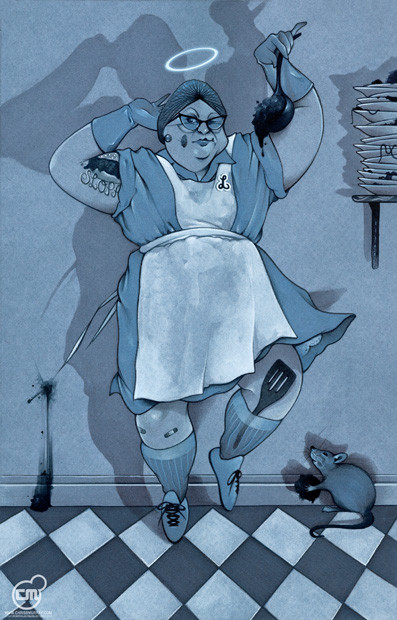
"Lunch Lady"
I mentioned before that this is a rather uneventful Saturday night. But if I leave now, I can still make it to this midnight movie.

I really wish this was available on Rifftrax. I've only seen their MST3000 stuff, but this movie looks like it's right up their ally.

And before I go, I want to encourage you good people to make your daily visit to the Muppet Madness Tournament. This year's competition includes characters from the new movie. I've got my brackets filled out, but I'm bracing myself for some upsets. 
Print your brackets!
I'm going to go ahead and predict Kermit takes all in the final round against Walter, but it could still be anyone's game. So, go get your voice heard! Vote! Sam the Eagle would tell you it's your duty as an American! Or that you are all weirdos... Take your pick. ;)

And, oh yeah! I forgot it's St. Patrick's Day. Here's the obligatory Muppet video I have to share!


Wednesday, March 14, 2012

Transferring Photos- another internet craft

So I jumped on the Pinterest bandwagon. woo hoo. While it is an entertaining avenue for wasting time, I have found a couple of projects I've wanted to try. The first one I have attempted is transferring photos to wood.
This is the original link I took directions from. Of course, if you go there, you don't really need to read the rest of this post. :P
http://oleandercreek.blogspot.com/2011/12/transfer-pictures-to-wood.html
It's pretty simple and doesn't require much finesse, so it's got that going for it.
You need:
*photograph printed from a laser printer (reverse the image before you print if you don't want the finished image backwards)
*gel medium- I bought one with a bit of a gloss finish
*brush

Lay the picture on the wood face down. Paint it evenly with the gel medium and keep the picture as flat & even on the surface as possible. I used the slanted end of my paint brush to flatten the image to the wood. It worked really well. Let it dry really well (a few hours/overnight.)
Wet the covered area (I just ran some water over it, but you can also use a wet wash cloth) and rub the paper off. It looks like you might be messing it up as the paper starts to peel/come off, but that's when you start to see the picture come through. Don't scratch it, but don't be afraid to put elbow grease into it.

After that, you've got your transferred image. I'm wanting to try it on canvas next.


I transferred the picture onto a block of wood. You can see where 
the edges weren't perfectly smoothed out, but I kind of like the look. 


Tuesday, March 13, 2012

It's Fun to Steal Crafting Ideas from the Internet!


If you spend a lot of time at the computer, you may have seen these fine magnets around Christmas time.
  Reindeer Butt Magnets Set of 6  gift, brown, steph mantis

As the ad for them was apparently targeted at me (because I saw it on facepage and they do that sort of thing), I was intrigued and insulted at the same time.

A friend saw them and said how she would like to have some. I took her seriously and decided to try to make some myself.

I got a Dremel just before making the magnet, but I have yet to figure out how to make it work. SO, one of my friends from Michaels suggested using a wood burner with the blade attachment to slice the plastic animal in half. I couldn't get my blade to screw on properly, but it worked out pretty well.

Once I had the giraffe rear ready, i just tacky glued a magnet to some felt I cut to fit the back, glued the felt the the raw edges on the back, and it was set. I did find that I needed to use a stronger magnet than the cheaper ones available at the craft store. I used some glitter glue to cover any gaps and voila!
I had a terrifically tacky birthday gift.


Careful what you wish for. ;)